Time to Dream with Photoshop Cs6:
tutorial :
Time to Dream with Photoshop Cs6
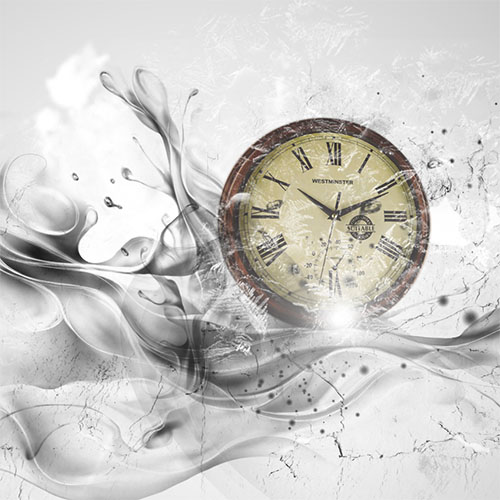
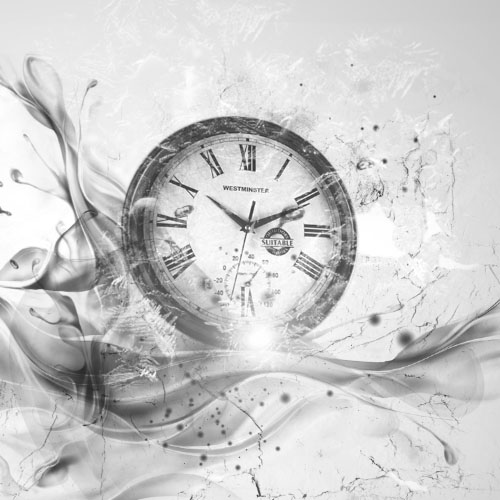
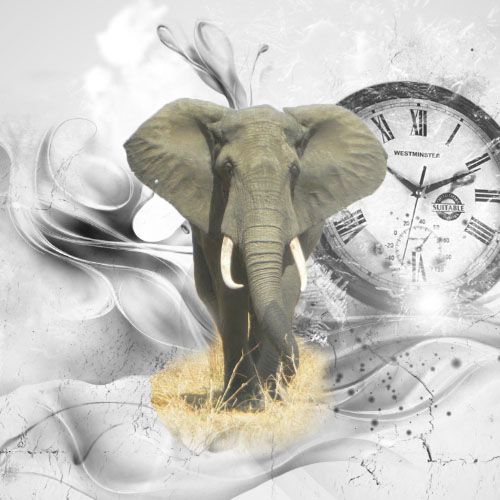
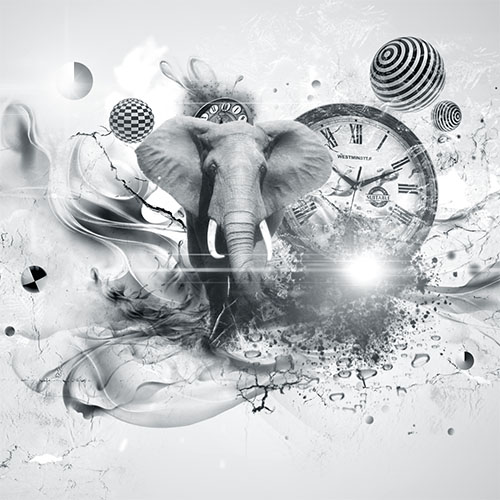
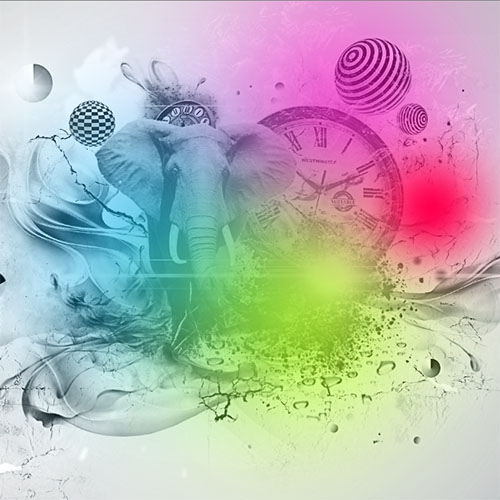
Welcome to this new tutorial, in the latter we will use textures and images to create a beautiful installation. And here is a preview of the final result
To start you need to download the following resource pack and then open a new document of 1500x1000 pixels, 72dpi resolution, colors RVB8bits.
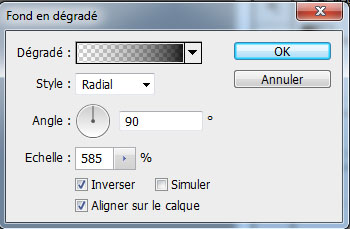
Then add a gradient fill layer by going to Menu> Layer> New Fill Layer> Gradient.
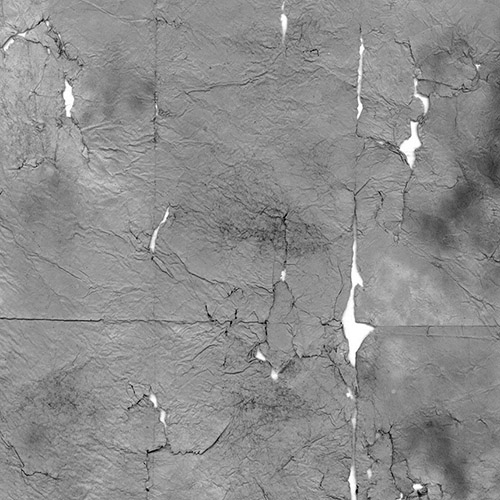
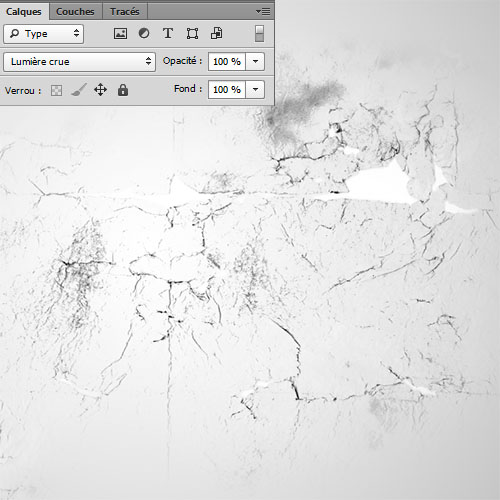
Then import the following grunge texture in your document and adjust it as follows.
Take the eraser tool (E) and a soft round shape and delete the edges of the image to achieve this.
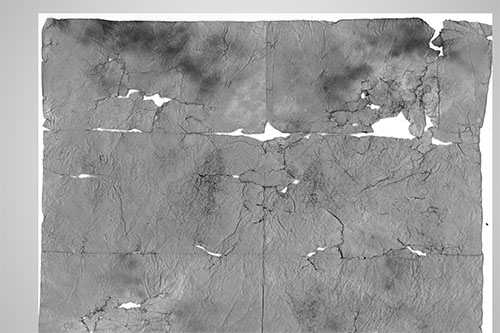
Now change the blending mode to bright light
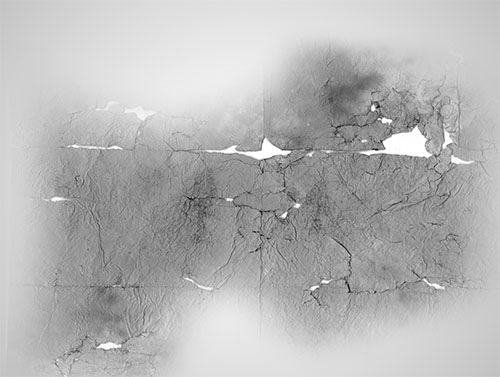
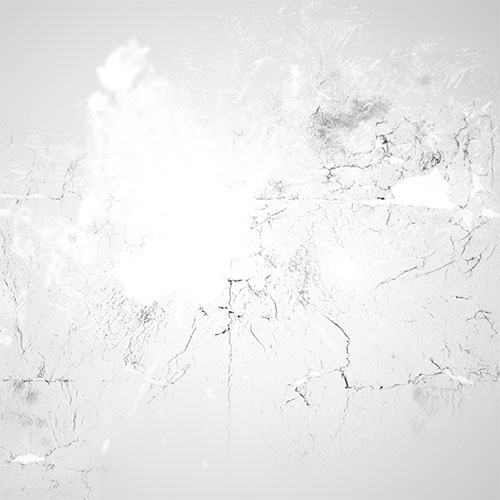
Create a new layer (Ctrl + Shift + N) and then take grunge brushes, the white color and draw the center to get the following result
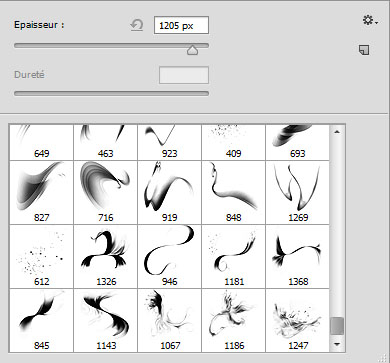
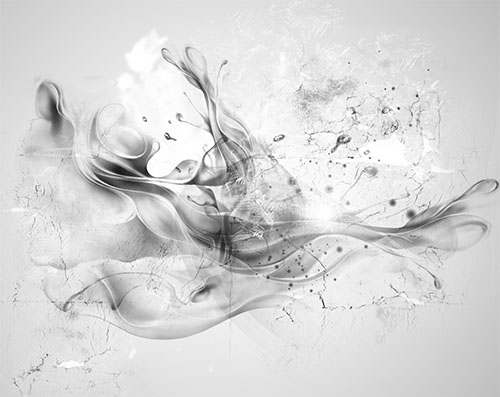
Create another layer, take the brush tool (B), the abstract brushes (available in pack up) and draw with to achieve the following effect
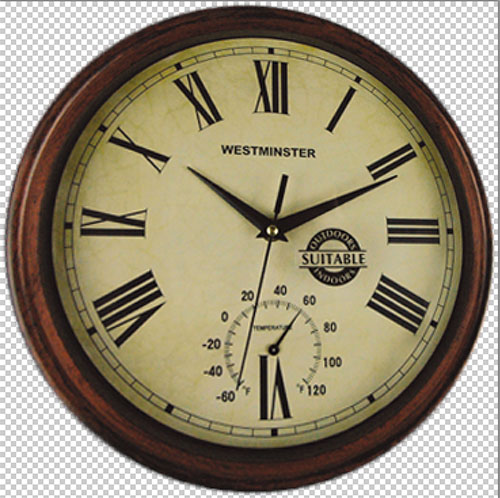
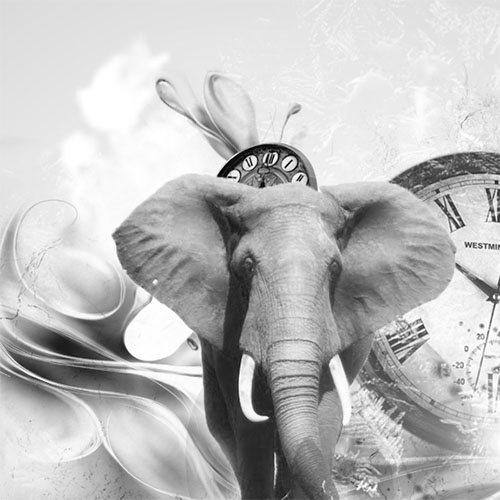
Then import the image of the next clock and put just below the layers with abstract and grunge brushes.
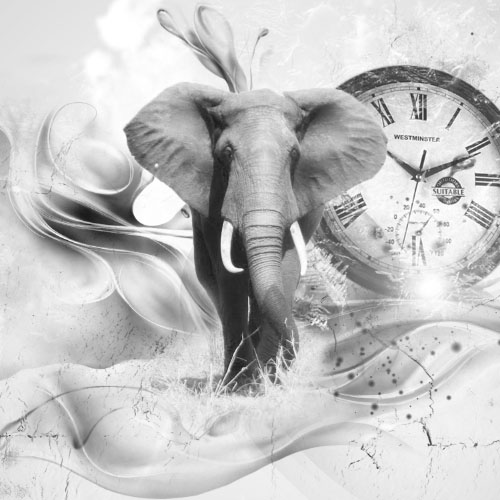
Then desaturate the image of the clock by going to Menu> Image> Adjustments> Desaturate.
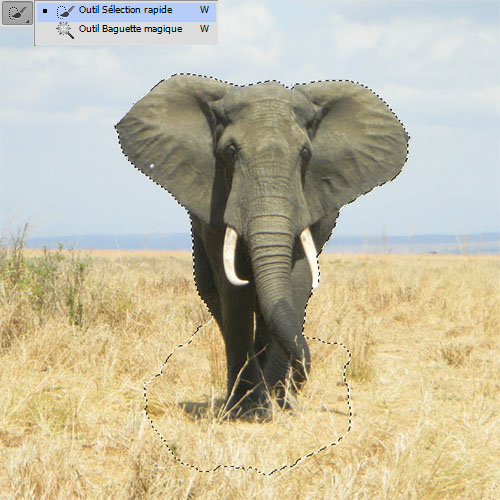
Now open the next file in another document and Cut out the elephant using the Quick Selection tool (W).
Then import the selection in your paper and adjust it as follows.
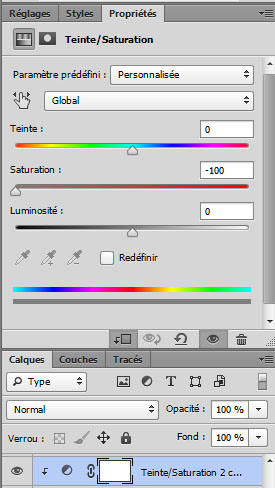
Now add a layer of hue and saturation adjustment by going to Menu> Layer> New Adjustment Layer> Hue and Saturation and set it in écrêtageen going to Menu> Layer> Create Clipping Mask.
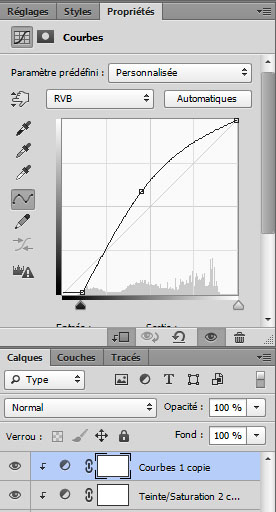
Do the same for the curve adjustment layer.
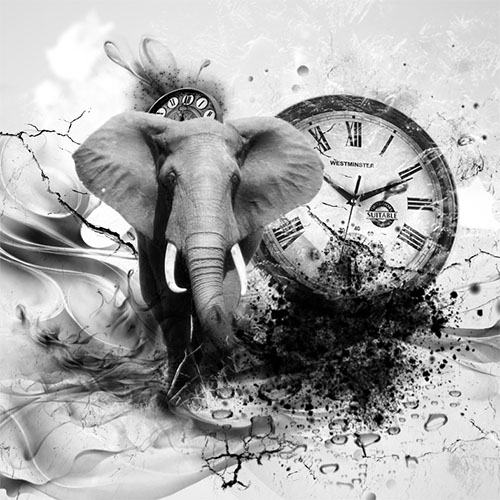
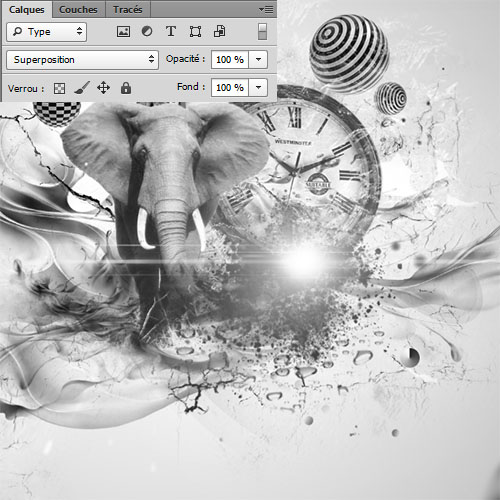
Import the second clock and put it behind the layer of the elephant.
Create a new layer, using the Brush tool (B), brushes of brilliance, or add some black grunge splash like this.
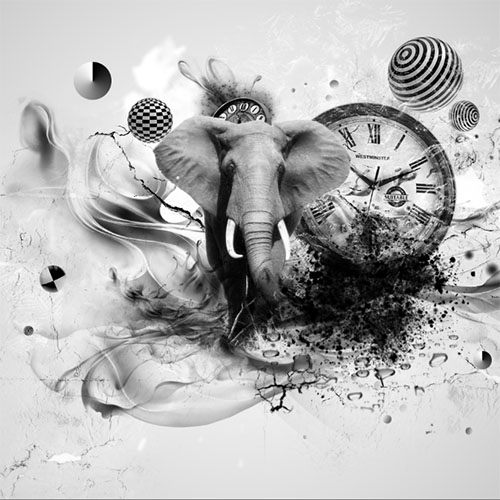
Then import 3D objects and adjust them like this.
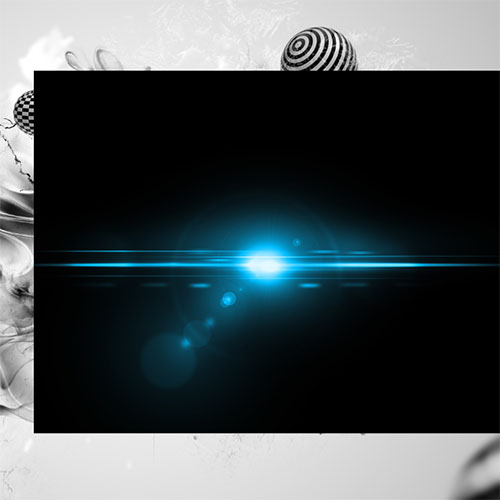
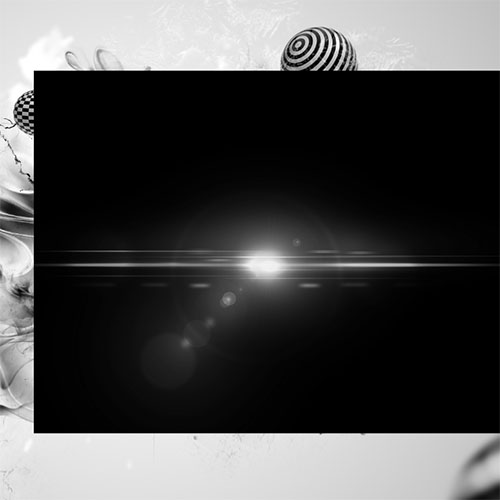
Now import the following into your document Halo.
Then desaturate it by going to Menu> Image> Adjustments> Desaturate (Ctrl + Shift + U).
Change its blending mode to Overlay
Duplicate it by pressing Ctrl + J and move it up
Now add a Levels adjustment layer by going to Menu> Layer> New Adjustment Layer> Levels.
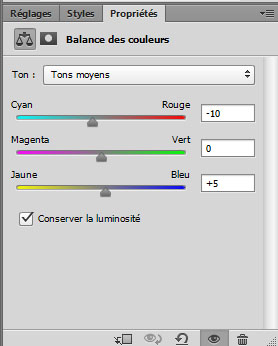
Then add a layer of color balance adjustment by going to Menu> Layer> New Adjustment Layer> Color Balance.
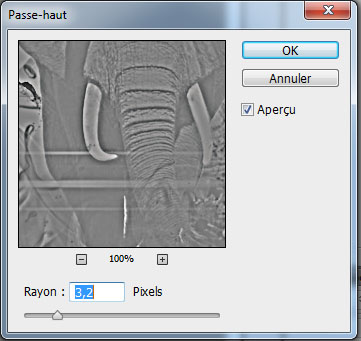
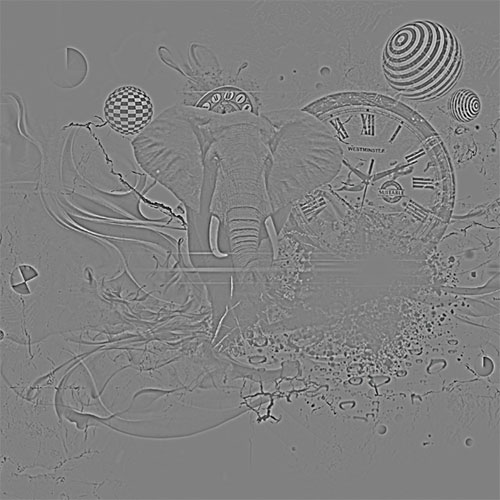
We now sharpen the image and to do press raccourci Ctrl + Alt + Shift + E for a copy of the merged layers
Then apply on a high-pass filter by going to Menu> Filter> Other> High Pass.
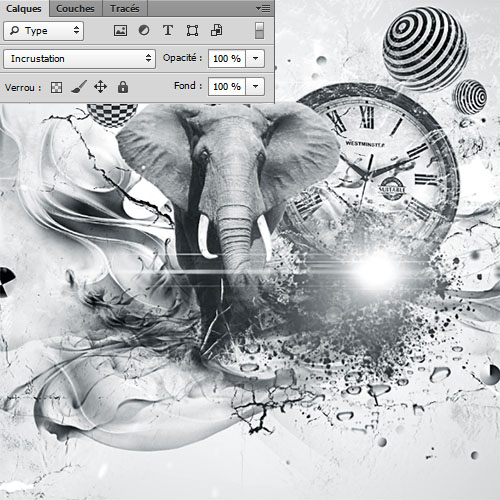
And change its blending mode to Overlay
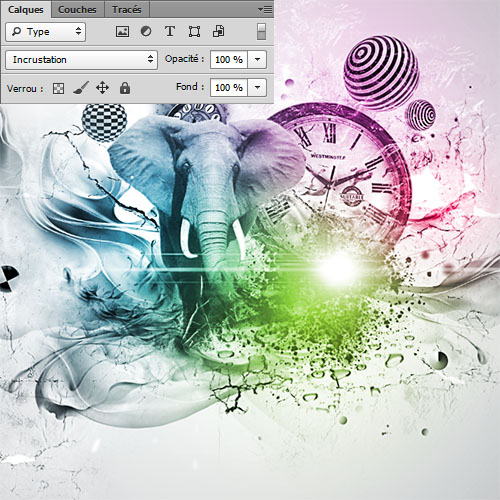
Now create a new layer, take the brush tool (B), and paint with using the following colors # ff00d8, ff004e #, # # and 00a2ff bfff00 with faibleopacité.
And change its blending mode to Overlay.
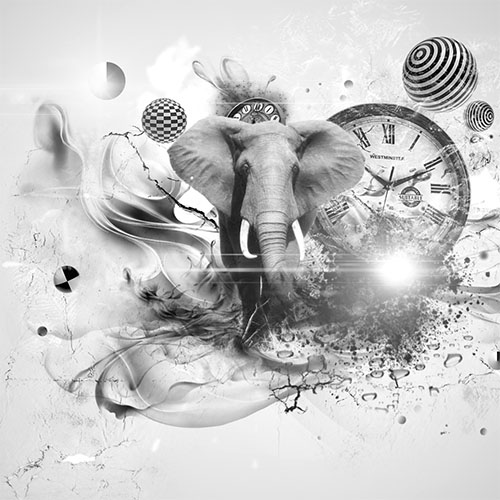
And here is the final result by adding a text with grunge effects.
This tutorial is inspired by a wallpaper found on the net


2 commentaires: